4 Steps for Using Spraying Drones for Crop Spraying
Farmers today use drones for crop spraying because it increases their work output while reducing chemical waste and providing precise pesticide application. The guide provides farmers with instructions for using spraying drones in their crop spraying activities through a complete process which starts from initial setup and continues until they reach expert usage methods.
Preparing for Drone Spraying
The most important step before flight is completing all necessary preparations. The required spray volume and coverage area should be determined according to the specific crop type and size.
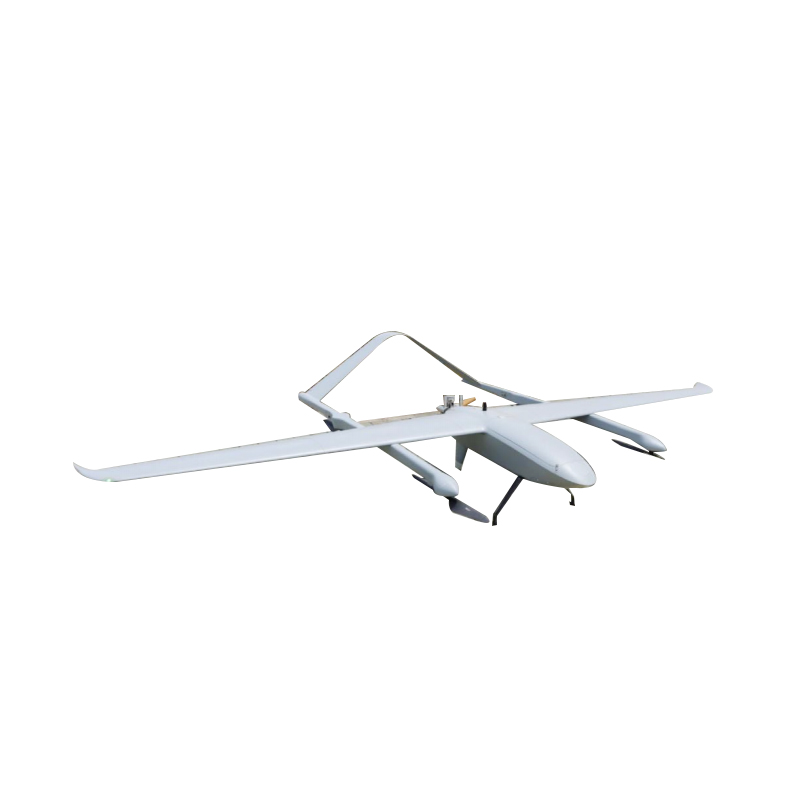
The selection of an agricultural drone requires assessment of three main aspects which include its payload capacity and battery life and spray system dimensions. Quadcopter drones are best suited for small fields, while hexacopter or fixed-wing drones are more efficient for large areas. Pesticides and fertilizers require correct ratio dilution for chemical preparation, which also mandates maintenance of clean liquid containers in the drone. Spraying operations must be suspended in windy, rainy, or extremely hot weather because these conditions create pesticide drift which disrupts proper coverage.
Before starting, check all drone components, including hardware, remote controller, and GPS signal system. The flight operation experiences two negative effects because equipment malfunctions: the loss of chemicals and the destruction of crops.
A complete preparation process reduces errors during operations and ensures your drone performs at its best.
Planning Your Flight Path
Proper flight planning ensures your drone sprays pesticides evenly and efficiently. Here’s a simple approach:
| Step | Key Actions | Tips |
| Outline Your Field | Mark field boundaries and note obstacles (trees, irrigation pipes, slopes) | For large fields, divide into smaller sections for easier route planning |
| Set Basic Flight Parameters | – Height: 2–3 meters above crops- Flight speed: match spray flow rate- Overlap: 20–30% | Test a small section first to ensure even spraying |
| Choose a Simple Flight Pattern | – Rectangular fields: back-and-forth parallel lines- Wind direction: spray against the wind | Prevent chemical drift and improve coverage |
| Tip | Test your settings on a small area first | Adjust height, speed, and overlap before spraying the entire field |
Step-by-Step Spraying Operation
When using drones for pesticide spraying, it is essential to strictly follow the procedures to ensure more even spraying and higher utilization rates. The following operating steps can be used as a reference:
1. Calibrate Your Drone
Before takeoff, spraying drones require system calibration of their GPS, sensors, and leveling system; all equipment must be checked. This system prevents drones from deviating from their flight path, provides more precise environmental spraying, and reduces pesticide waste.
2. Load the Pesticide
The pre-prepared pesticide solution should be filled into the spray tank according to the capacity marked on the tank; neither too much nor too little should be added. The drone will experience flight problems when the spray tank exceeds its maximum capacity because this will destabilize the drone and cause pesticide to spill which will result in crop damage from excessive pesticide application.
3. Inspect Conditions
The staff members must perform two tasks which include checking weather forecasts and evaluating current weather conditions which include wind speed and humidity and visibility. The team needs to select days with minimal wind conditions for spraying operations while maintaining safe work practices by avoiding high-temperature and low-visibility situations.
4. Start Flight and Spraying
Spraying should be carried out according to the planned route, and the spraying situation needs to be monitored in real time by the gimbal. If the coverage is uneven, adjustments should be made immediately.
5. Monitor Spray Coverage
The drone video footage allows for the inspection of areas which require re-spraying because initial spraying operations failed to cover these locations. The complete area needs to receive uniform pesticide application because any spraying defects will result in pesticide waste and crop destruction.
6. Land and Clean
After all operations are completed, the drone should be landed in an open area. The pesticide tank must be emptied, and the tank, nozzles, and drone surface must be cleaned immediately to remove all pesticide residues. This prevents pesticide mixing, thus avoiding reduced pesticide effectiveness, and also prevents nozzle clogging, extending the drone’s lifespan.
Post-Spraying Checks
The crop coverage needs to be inspected immediately after pesticide spraying because this work needs to be done. The assessment process evaluates spraying success while detecting any areas that were not sprayed properly which ensures complete crop protection.
Visually Inspect Spray Coverage
Conduct random, multi-point spot checks in the field to determine whether pesticides are present on the crop surfaces. The verification process requires testing pesticide distribution throughout both tall and short crop sections which include their high-density regions. The team must take immediate action to address any identified gaps in the project.
Use Drones or Cameras to Assist with Inspections
The effectiveness of pesticide spraying over large areas of farmland can be evaluated using cameras and onboard imaging systems mounted on drones. Analysis of crop images taken before and after the flight assessed the uniformity of pesticide coverage and identified areas that remained unprotected.
Record and Mark Problem Areas
Mark any identified areas of insufficient or missed spraying. The locations and crop types of these areas should be recorded because they will be used as reference material to determine the required flight altitude and speed and overlap rates for the upcoming spraying operation.
The ideal time to complete post-spraying inspections requires inspection teams to finish their work on the same day or following day because it allows immediate detection and resolution of operational problems.
Aerial drone inspections combined with visual assessments should be used to inspect large farmland areas because this approach improves both operational productivity and precise results.
Safety Guidelines and Best Practices
| Category | Recommendations | Notes / Tips |
| Regulations & Licensing | Follow local drone laws and hold required certifications | Includes flight altitude limits, restricted zones, and night flight rules |
| Weather Considerations | Avoid spraying in strong winds, rain, or low visibility | Calm, clear conditions reduce chemical drift and improve accuracy |
| Personal Protective Equipment (PPE) | Wear gloves, masks, and protective clothing when handling chemicals | Prevents skin contact and inhalation of pesticides |
| Takeoff & Landing Safety | Choose open, obstacle-free zones for takeoff and landing | Keep people, animals, and vehicles away to reduce accident risk |
| Drone Maintenance | Inspect propellers, sensors, and spray system regularly | Cleaning after each flight prevents clogging and extends drone lifespan |
| Spraying Best Practices | Test spray settings on a small area first, avoid over-spraying | Adjust height, speed, and flow rate to optimize coverage |
| Operation Planning | Prepare a clear work plan including routes, spray volume, and crop info | Helps ensure consistent, safe, and efficient spraying |
When done correctly, spraying drones can not only save time and money, but also contribute to sustainable agricultural practices.
FAQ
Q: Can drones spray all types of crops?
A: Most drones are versatile, but some require adjustments for specific crop heights and densities.
Q: How much area can a drone cover in a day?
A: Coverage depends on drone size, tank capacity, and battery life, typically 5–20 hectares per flight.
Q: Do I need certification to operate a spray drone?
A: Local regulations vary. Some countries require drone pilot licenses or pesticide application permits.
Related Products